Hierarchical query คืออะไร ?
A hierarchical query is a type of SQL query that handles hierarchical model data. They are special cases of more general recursive fixpoint queries, which compute transitive closures.
อยากบอก(บ่น) ว่าก่อนที่ MySQL 8 จะออกนี่การดึงข้อมูลแบบลำดับชั้นลักษณะต้นไม้ (Tree) แบบนี้โคตรเปลืองพลังงาน แต่ตอนนี้ดีขึ้นมาก ต้องขอบคุณจริง ๆ ที่ MySQL อิมพลีเมนต์ Common Table Expression (CTE) ให้ใช้ได้ซะที เขียนคำสั่งสั้นลง ประสิทธิภาพดีขึ้น (ก็แหงสิเจ้าของเค้าทำออกมาเอง)
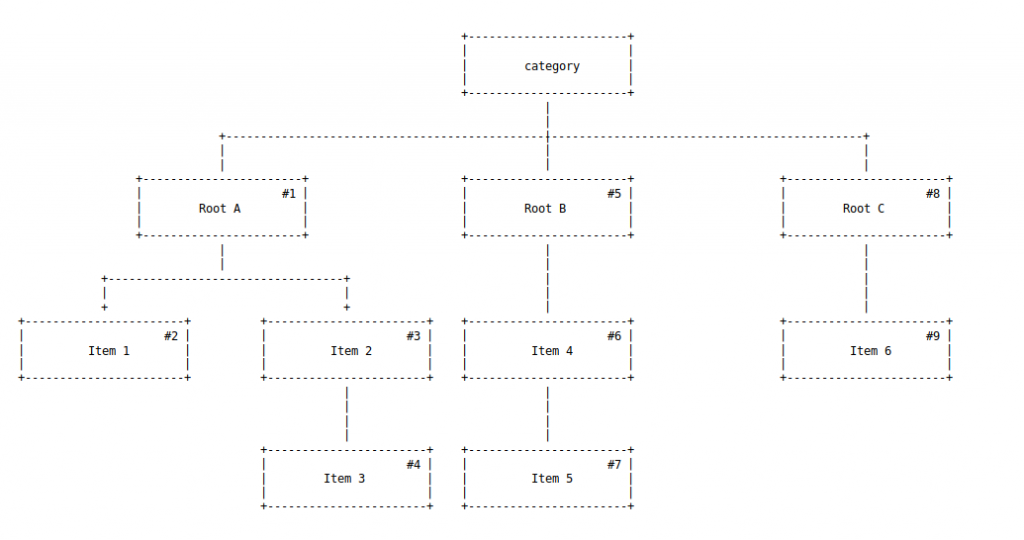
ยกตัวอย่างข้อมูลลักษณะแบบลำดับชั้น เช่น โครงสร้างองค์กร เธรดในคอมเมนต์ต่าง ๆ ข้อมูล Categories and sub-categories ที่เห็นภาพชัด ๆ เลยคือ โครงสร้างองค์กร (Organization charts ) นี่ง่ายสุดละ มีหัวหน้าเป็นรูทและมีลูกน้องในความดูแลและบางทีลูกน้องก็มีเบ้ต่อลงไปอีกที ลักษณะข้อมูลแบบรูปนี้เลย
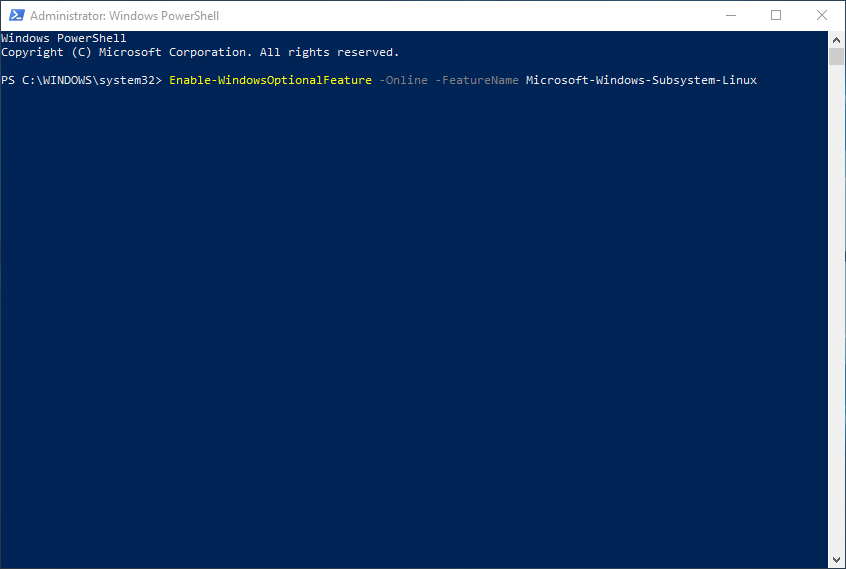
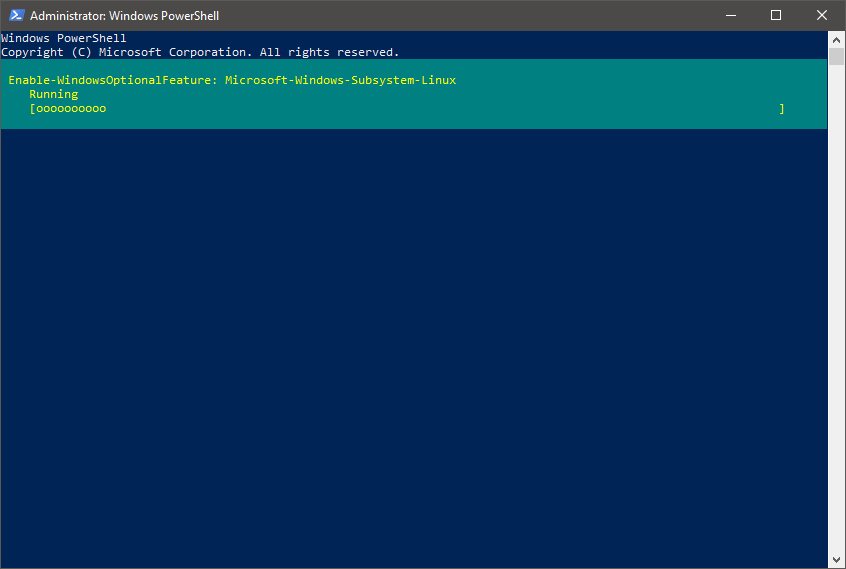
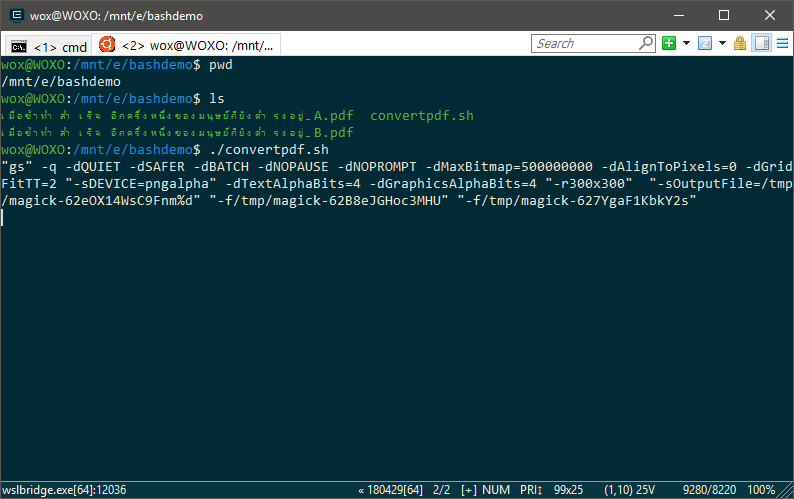
ว่าแล้วก็ติดตั้ง MySQL 8 สำหรับใช้งานกัน
docker run -d -p 3306:3306 --name mysqltest --restart always -e MYSQL_ROOT_PASSWORD=root -e MYSQL_DATABASE=demo mysql:8
โดยธรรมเนียมปฏิบัติทั่วไป ของตารางที่เก็บข้อมูลในลักษณะนี้ก็จะออกแบบคล้าย ๆ แบบนี้ โดยให้คอลัมภ์ parent เก็บข้อมูลหัวหน้า
DROP TABLE IF EXISTS category;
CREATE TABLE IF NOT EXISTS category(
id INT AUTO_INCREMENT PRIMARY KEY,
name VARCHAR(20) NOT NULL,
parent INT DEFAULT NULL
);
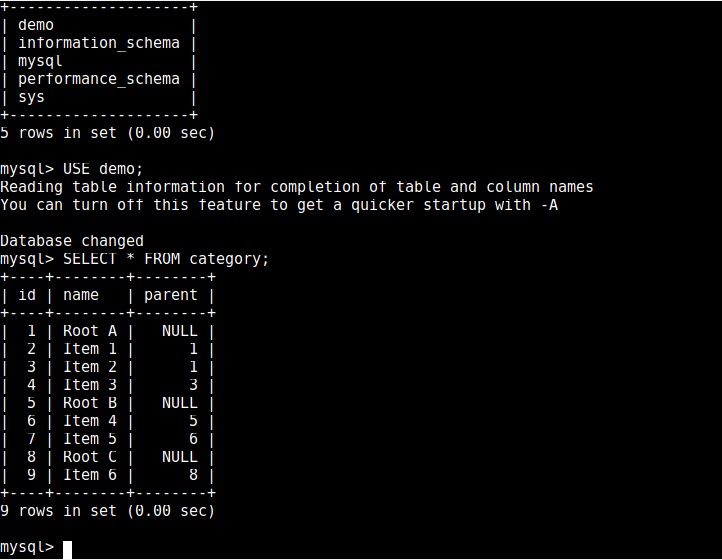
INSERT INTO category VALUES
(1,'Root A', NULL),
(2,'Item 1', 1),
(3,'Item 2', 1),
(4,'Item 3', 3),
(5,'Root B', NULL),
(6,'Item 4', 5),
(7,'Item 5', 6),
(8,'Root C', NULL),
(9,'Item 6', 8);
การดึงข้อมูลในลักษณะ Recursive MySQL ได้เตรียมคำสั่งให้แล้ว รูปแบบการใช้งาน
with_clause:
    WITH [RECURSIVE]
        cte_name [(col_name [, col_name] ...)] AS (subquery)
        [, cte_name [(col_name [, col_name] ...)] AS (subquery)] ...
ลักษณะของคำสั่งนี้คือ

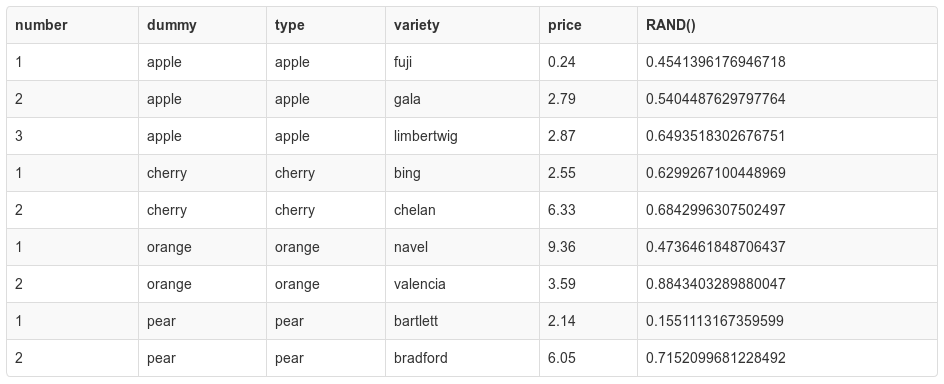
*ภาพจาก mysqltutorial : A Definitive Guide To MySQL Recursive CTE
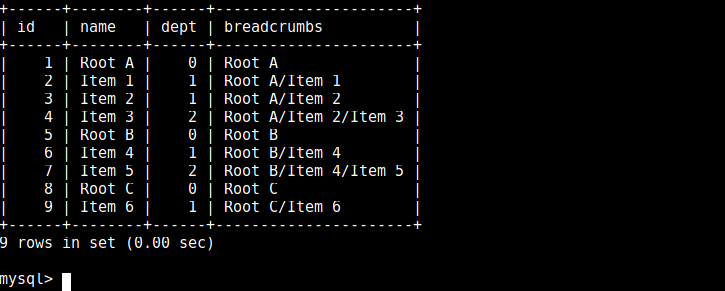
เรามาดูผลลัพธ์กัน
WITH RECURSIVE categorypath(id, name, dept, breadcrumbs) AS
(
  SELECT id, name, 0, CAST(name AS CHAR(1000))
  FROM category
  WHERE parent IS NULL
  UNION ALL
  SELECT c.id, c.name, cp.dept + 1, CONCAT_WS('/', cp.breadcrumbs, c.name)
  FROM categorypath cp
    JOIN category c ON cp.id = c.parent
)
SELECT * FROM categorypath ORDER BY breadcrumbs;
ไปอ่านเพิ่มเติมกันได้ที่
- https://mysqlserverteam.com/mysql-8-0-labs-recursive-common-table-expressions-in-mysql-ctes/
- https://www.percona.com/live/17/sites/default/files/slides/Recursive%20Query%20Throwdown.pdf
- https://en.wikipedia.org/wiki/Hierarchical_and_recursive_queries_in_SQL
จบปิ๊ง ^__^
ป.ล.1 วันหยุด วันฝนตกฉันควรนอนกกใครสักคนอยู่ใต้ผ้าห่มนี่นา
ป.ล.2 เศร้าาาวันทำงาน